Tips for working with an Illustrator
You’ve written a children’s book—now it’s time to create illustrations to bring the story to life! If you’re not an illustrator yourself, you’ll need to find someone with artistic abilities who can help. There are plenty of artists to be found online. Once you have an agreement to work with an illustrator, you’ll need to communicate your ideas to them.
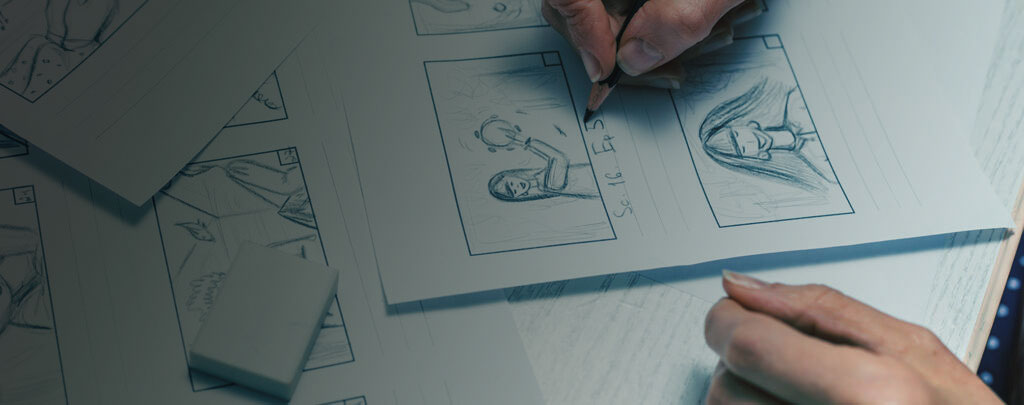
We recommend creating your ideas visually to clearly identify all the illustrations that will be needed and where in the story they belongs. (Remember most artists are visual learners!) A storyboard is a great way to communicate with the illustrator. This tool allows the artist will see how your text will be paired with the images and interact with their artwork.
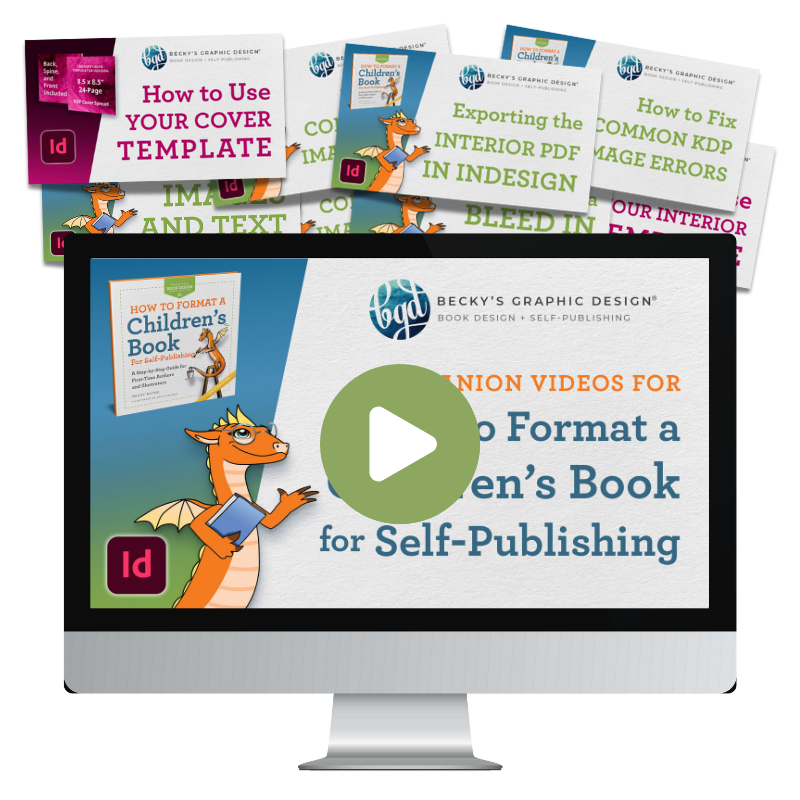
If a video is more helpful to you, find the same information located here:
How to Create a Storyboard with Canva
Note: This guide was created in December of 2021. Programs like Canva are liable to change frequently, so the accuracy of this guide cannot always be guaranteed.
Canva.com is an online-hosted graphic design program which can be used to create social media posts, business cards, presentations, short video clips, and storyboards! Canva has a free version and a “Pro” version that comes with additional features, but a simple storyboard can be accomplished in either.
To begin, create an account.
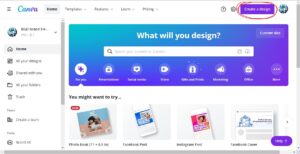
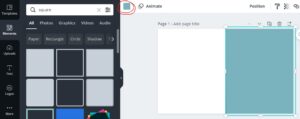
Create a new design by using this button in the upper right-hand corner.
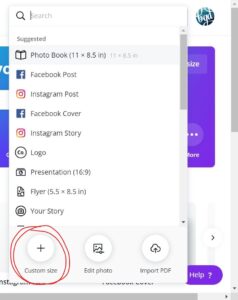
Once you login, you will see your dashboard. Let’s start a new document by clicking “Create a Design.” Next, we will select “Custom Size.” Navigate to the bottom of the drop-down for this option.
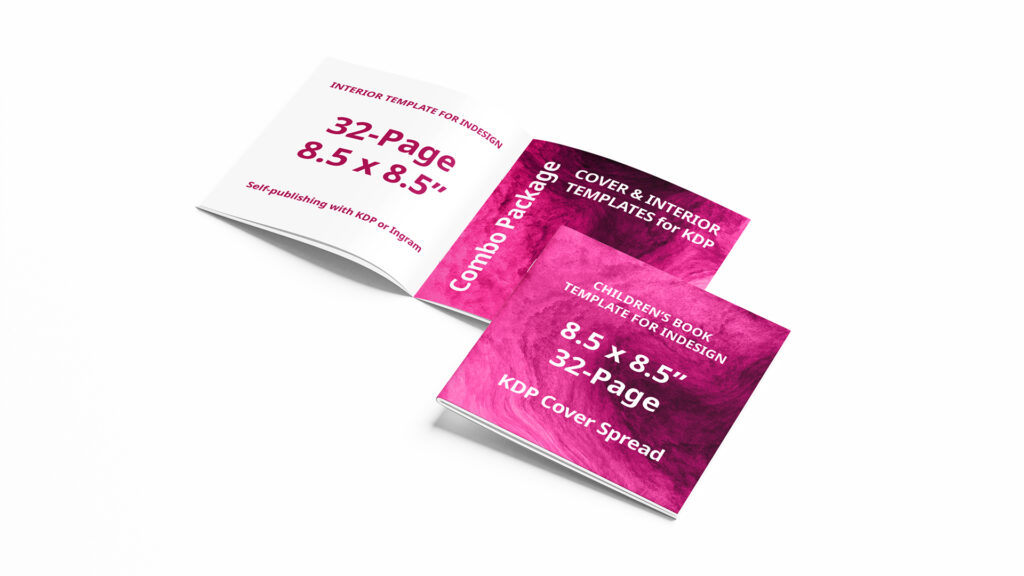
When creating your file, you should be aware of the book size you want to create. What do you want the final print copy of your book to look like? Standard printing sizes are 8×10″, 6×9″, 8.5×11″, etc. If you will be self-publishing, check with the distributor (such as KDP or IngramSpark) for the trim sizes and book formats they offer. For more about the actual creation of the images see our post Tips for Creating Illustrations for Book Publishing.
To get a feel for the sizes you might want to use, pull a few children’s books off the shelf at home or the library and measure them.
The Book Layout
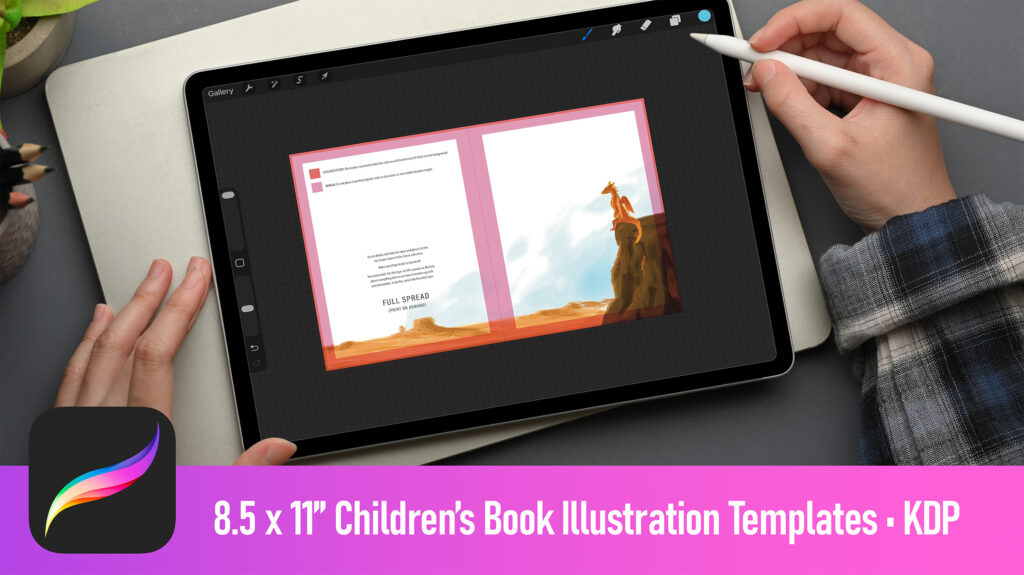
In this example, I decided that my children’s book would be an 8×10″. This is the size of the front cover or a single page of the book. When the book is opened and there are two pages side-by-side (a “spread”), the width will be doubled.
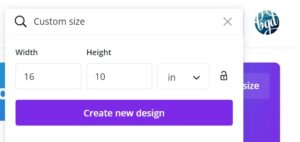
Since I need to create my storyboard as a spread, my file dimensions are 16″ width x 10″ height.
Next, we are going to create a dividing line in the middle of the spread. This will differentiate between the left- and right-hand pages. On the left-hand column of the User Interface (UI), click “Elements.” This is where you can find Canva’s assets—stock images, videos, clip art, audio or shapes. Keep in mind, some “Elements” will not be available with Canva Free.

Use the left-hand “Elements” tab to add images, videos, audio, clip art, or shapes, like this line.
Simply type what you’re looking for. In this instance, I am looking for a “line.” You can click to add or drag the item onto your canvas. Use the “transform” tools to rotate and stretch out the line. Then, drag it into the middle of the page. The guides should help you “snap” the line into the perfect center.
Adding Color
Now, we will add a background color to indicate where an image should be placed. Type “square” or “rectangle” into the Elements tab. Resize and transform the shape into the desired location. Dragging the corners of the shape will resize it proportionally. Dragging the straight sides will perform an unconstrained resize.
Using the color block along the top, you can change the color of your rectangle and line. Most Canva shapes and some clip art can be modified as such, but not all.
Now that we have a “spread template” created, let’s add your story!
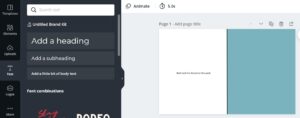
Click the “Text” tab on the left-hand column of the User Interface. Canva has many pre-loaded typefaces. You can upload custom typefaces with Canva Pro. If you are working with a graphic designer, the font you choose won’t matter in the long run. Your designer will likely recommend another.
 Adding Images
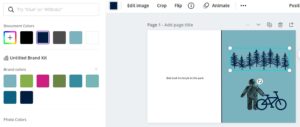
At this point, you have a very simple storyboard to show your artist. If you’d like to go a bit further, add clip art to flesh out the content of the images. In the Elements tab, I search for “stick person” and add a simple character. I also add a bicycle and trees and change their default color.
This picture I have created is simply a content suggestion—it tells the artist that I want a person and a bicycle and trees in the image. The artist can get creative from there, create an interesting composition with real character and style.
Full Spreads
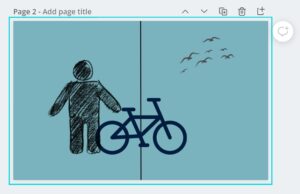
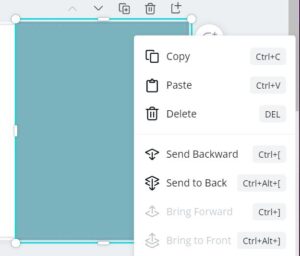
Perhaps you want a two-page spread without any text. This is highly important for your illustrator to understand so that they can draw within the correct dimensions. When creating a spread, allow the background color to extend all the way across (but don’t lose your black dividing line! Make sure it is “Brought to Front” and the background color is “Sent to Back.” You can change the order of any object by right-clicking on it to see those options.
When making a two-page spread, make sure that important elements (like a person’s face) don’t end up on the center line.
To speed up production, don’t forget about the “Duplicate” feature. Each duplicated page will bring all corresponding elements along with it, saving you the time of adding a background and dividing line to each spread. You can also easily reorder or delete pages using the tools along the top of each page.
When you finish your storyboard, it’s time to send it to the artist and your graphic designer!
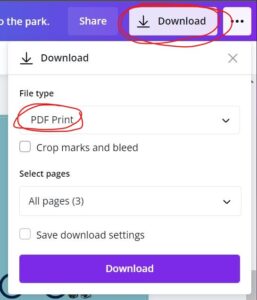
This can be accomplished by downloading the file as a PDF and then attaching it to an email. There are two types of PDFs on Canva: a PDF for print or a PDF for screens.
If you have lots of images in your storyboard, the file size may become incumbently large for sharing. In this instance, definitely use the “PDF Standard” option. But, otherwise, use “PDF Print” for higher quality.
This process will help you decide what text should be paired with which images and will make your story flow better in the long run. You will experience much better understanding between yourself, your artist, and your graphic designer. When speaking to visual learners, it is best to explain things visually and, for a Children’s Book, a storyboard is the best way to do this!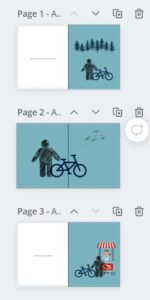
Need help with your book formatting and self-publishing?
Once the illustrations and manuscript are finished we are happy to help you prepare the book for uploading to the book distributor of your choice. Email us via our Contact page or set up an appointment to discuss your book.
Additional Resources for Self-Publishing a Children’s Book:
Need to see this as a video? Check out our YouTube Channel