I often have clients call, frustrated by WORD. They are trying to add images or logos to a document and and don’t understand the process, or have trouble with the text surrounding their image disappearing. Here is the simple fix to add an image and then flow text around the image.
1. Insert image in WORD. INSERT/PICTURE/FROM FILE…
2. Left click on the image to select it,then right click to bring up the options box (as shown below). The second to last option is FORMAT PICTURE. Click on this.
3. Click on the LAYOUT tab (as shown below) and select one of the options for the text wrapping. I usually choose TIGHT, this can be adjusted later. Select the ADVANCED button on the bottom.

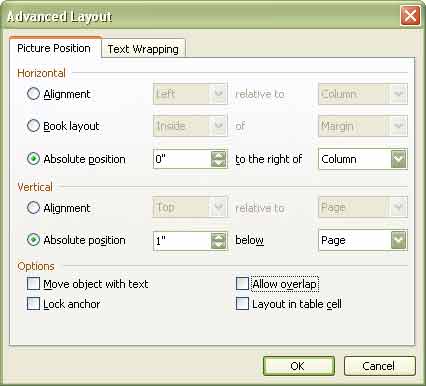
4. Deselect all the OPTIONS on the bottom, so none of the boxes are checked. This allows your image to float until you have it positioned where you want it. Later you can lock it in position if you wish. Click OK and OK in the LAYOUT box until you are back on the image in WORD. You’ll find you can move your image manually now. REMEMBER…to adjust the size of the IMAGE…USE YOUR SHIFT KEY as you drag the corners, not the sides of the image.
5. Now add the text to your document. The text will flow around the image. Use the same procedure (right click on the image and go back to the format box and adjust which text wrap you choose.) to adjust the text flow.
Hope this was helpful! B